
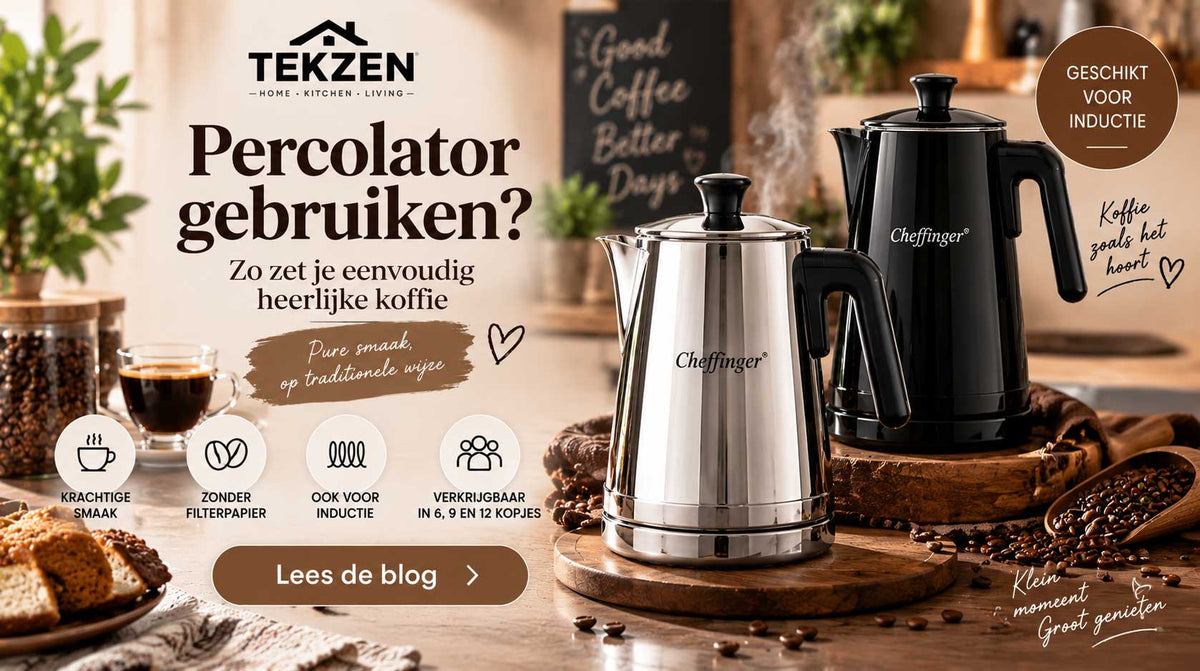
A percolator is a simple way to brew strong and aromatic coffee at home. You don't need an elaborate electric coffee machine or coffee pods. With water, ground coffee, and a suitable heat source, you can get started right away.
However, a percolator often raises questions during its first use. Where does the water go? How much coffee do you use? What grind do you need? And how do you know when the coffee is ready?
In this guide, we explain step-by-step how to use a percolator. Would you like to browse the range first? Then check out the coffee machines and coffee percolators at TEKZEN.
What is a coffee percolator?
A coffee percolator is a coffee maker in which heated water is directed through ground coffee.
A stovetop model consists of several parts. At the bottom is the water reservoir. Above that is a filter section where the ground coffee is placed. The brewed coffee eventually ends up in the top section.
During heating, pressure builds up in the bottom reservoir. The hot water is pushed upward, passes through the ground coffee, and then ends up at the top.
The result is a strong cup of coffee with a preparation method that is very different from, for example, drip coffee.
Within the Coffee & Drinks collection at TEKZEN, you will find not only percolators but also other products for various methods of coffee and tea preparation.
What do you need for coffee from a percolator?
The basics are simple. You need a percolator, fresh water, ground coffee, and a suitable heat source.
Do you use induction at home? Then always check whether the specific percolator is suitable for it.
The current Cheffinger percolators at TEKZEN are available for 6, 9, and 12 cups and are offered as suitable for induction. You can also choose from different designs, including black and silver.
Step 1: fill the bottom section with water
Unscrew the percolator and remove the filter section.
Then fill the bottom reservoir with fresh water. Keep in mind the maximum fill level and the safety features of the specific model.
Do not just fill the reservoir to the brim. Always follow the user instructions that come with your percolator.
Step 2: put ground coffee in the filter
Next, place the ground coffee in the filter basket.
Distribute the coffee evenly, but do not press it down hard as you would with some espresso preparations. The water must be able to flow through the ground coffee easily.
Then place the filled filter back into the bottom section of the percolator.
Which coffee grind do you use for a percolator?
The grind has a major influence on the final result.
It is better not to use an extremely fine grind, such as you would use for Turkish coffee. A very fine grind can affect the flow and cause small coffee particles to end up in the brewed coffee.
Would you like to know more about that completely different preparation method? Then also read our guide Making Turkish coffee: how to make traditional Türk Kahvesi.
For a percolator, you can start with a grind suitable for moka or percolator preparation. You can then experiment until you find the taste that suits you.
How much coffee should go in a percolator?
The right amount depends on the size of the percolator, the coffee used, and your personal taste.
The filter basket serves as a practical starting point. Distribute the coffee evenly over the filter without pressing it down firmly.
Is the coffee ultimately too strong or too mild? Then don't change everything at once. For example, first adjust the coffee used or the grind. This makes it easier to discover which preparation gives the best result.
Step 3: screw the percolator tightly shut
Before proceeding, check that the rim is clean and all parts are correctly positioned.
Then screw the top and bottom sections firmly together.
A good seal is important because pressure is built up during heating.
Also, regularly check the gasket, the filter, and other parts according to the maintenance instructions for your percolator.
Step 4: place the percolator on the stovetop
Now the percolator can go on the heat source.
It is better to use a controlled heat setting rather than heating the percolator at maximum power immediately.
During heating, the water is pushed up from the bottom reservoir. It then passes through the ground coffee, and the brewed coffee ends up in the top section.
Give the process time to work.
Step 5: remove the percolator from the heat source on time
When the water has almost completely passed through the coffee, it is time to remove the percolator from the heat source.
Do not let the coffee continue heating unnecessarily long. Excessive heat can affect the final taste.
After that, you can carefully pour the coffee and serve it.
Can a percolator be used on induction?
Not every coffee percolator is automatically suitable for induction.
For use on induction, the base must be suitable for this heat source. Therefore, always check the product specifications of the model you wish to purchase.
At TEKZEN, you can currently find Cheffinger percolators for 6, 9, and 12 cups. The current models are offered as suitable for induction.
Check the coffee machines and percolators at TEKZEN for this.
What size percolator do you need?
An important choice is the capacity. Within the current range at TEKZEN, you can choose from 6 cups, 9 cups, or 12 cups for the Cheffinger percolators.
Which size is convenient mainly depends on how much coffee you usually want to brew at once.
If you usually drink coffee with one or two people, a smaller model might be more practical. If you regularly brew coffee for several people, a 9 or 12-cup version might be more interesting.
Please note that the designation cups for this type of coffee maker does not necessarily mean large coffee mugs.
6-cup percolator
The 6-cup percolator is the most compact capacity in the current Cheffinger series at TEKZEN.
This size is interesting if you do not want to brew a large amount of coffee at the same time. The 6-cup models are available in different colors and are suitable for induction.
9-cup percolator
If you want a little more capacity, there is the 9-cup percolator.
This forms a practical medium size between the compact 6-cup and the larger 12-cup version. This can be useful if you regularly brew coffee for several people but do not always need the largest capacity.
12-cup percolator
The 12-cup percolator has the largest capacity among the current Cheffinger percolators at TEKZEN.
This version is more obvious when you want to prepare a larger amount of coffee regularly, for example for a family or when there are guests.
How do you clean a percolator?
After use, let the percolator cool down sufficiently.
Then take the various parts apart and remove the used coffee grounds.
Clean the filter, the funnel, and other areas where coffee residues might remain thoroughly. Residual coffee and coffee oils can affect the taste of subsequent brews.
Also, check the gasket and the filter regularly.
For dishwasher use and specific cleaning agents, it is best to always follow the maintenance instructions for the model in question.
Common mistakes with a percolator
Is the coffee bitter or does it taste different than expected? That does not immediately mean there is something wrong with your percolator.
Too much heat, an incorrect grind, continuing to heat for too long, or pressing the ground coffee too firmly can all influence the result.
The type of coffee you use naturally also plays an important role.
It may therefore take a few brews before you know exactly which combination of coffee, grind, and preparation suits your taste.
Percolator or electric coffee machine?
Both devices brew coffee, but the way you use them differs considerably.
A percolator is interesting if you like to determine the preparation process yourself and are looking for a relatively simple coffee maker without complex electronics.
If you prefer an electric device to perform a larger part of the process for you, an electric coffee machine might be a better fit.
Do you mainly drink Türk Kahvesi? Then another type of device is of interest. In our guide Turkish coffee machine: how does it work and which one should you choose? we explain how a Turkish coffee machine works and what you can pay attention to when choosing.
You can also view the complete collection of coffee machines at TEKZEN to compare different ways of making coffee.
Buying a percolator at TEKZEN
Using a percolator is ultimately quite simple: water in the bottom, ground coffee in the filter, heat in a controlled manner, and remove the coffee from the heat source on time.
After a number of brews, you will naturally discover which grind and quantity best suit your taste.
Would you like to compare different sizes? Then check out the coffee machines and percolators at TEKZEN. Within the current range, you will find Cheffinger percolators for 6, 9, and 12 cups, including various designs that are suitable for induction.
For more products for preparing and serving coffee and tea, you can also view the complete Coffee & Drinks collection at TEKZEN.